Deep dish pizza

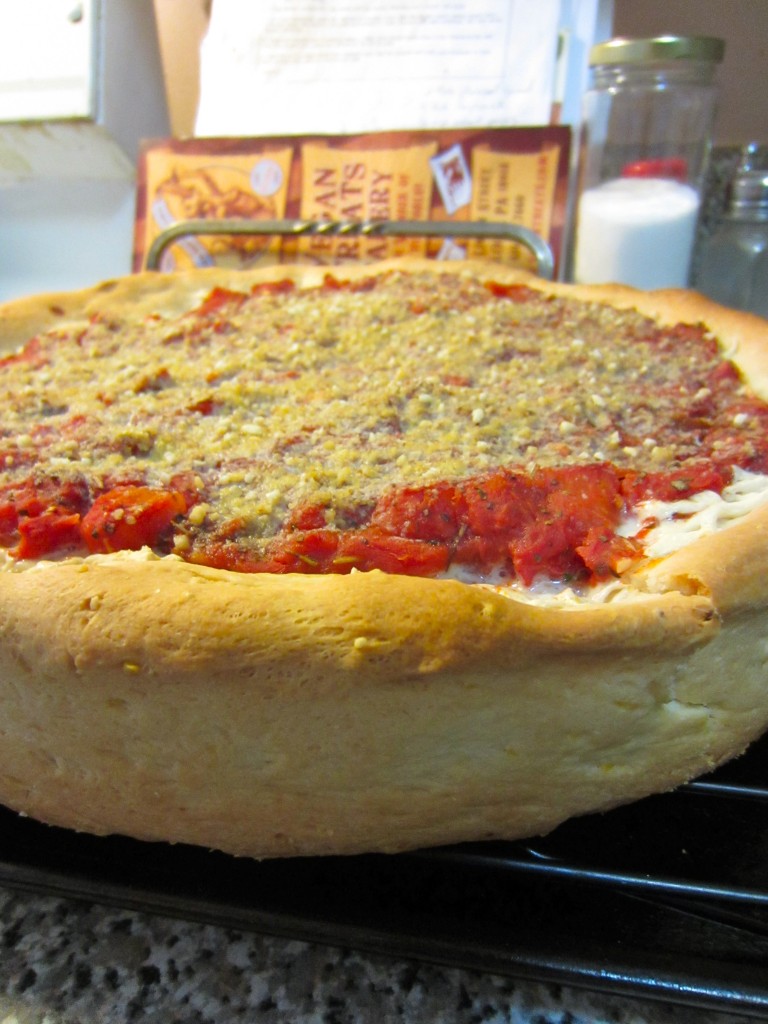
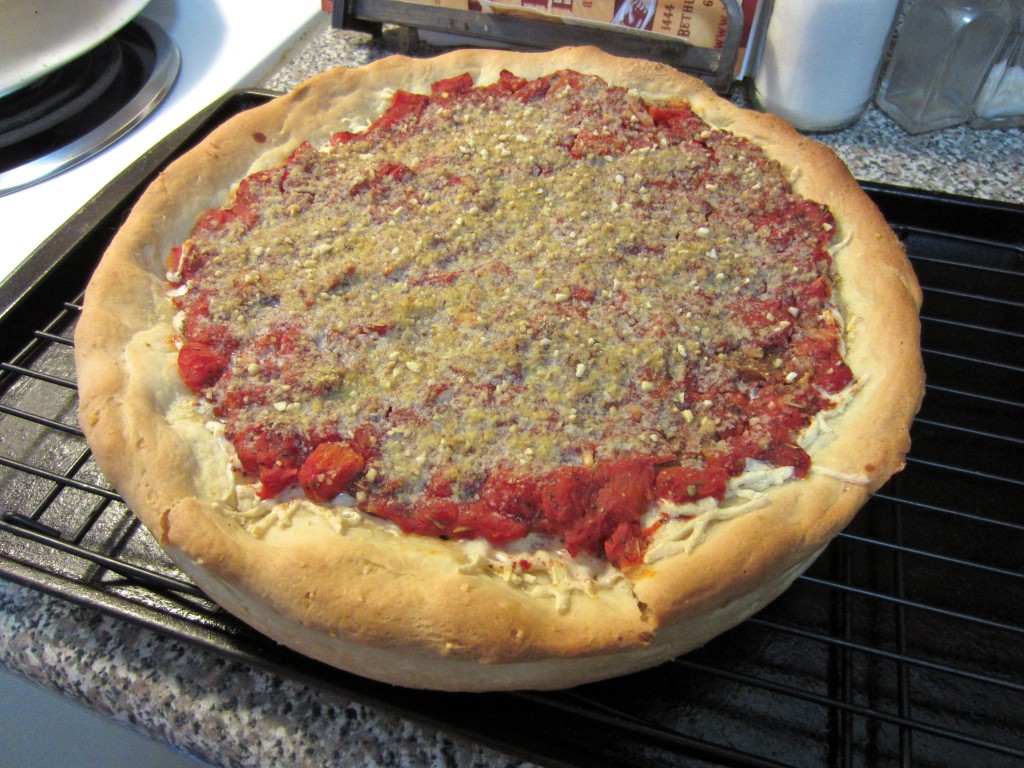
Oh man. Click away if you’d rather not invest in fat pants. I always thought deep dish pizza might be difficult to make. The good, or bad, news is that it’s really easy to make.

King Arthur Flour puts out awesome recipes. They are rarely vegan, but veganize very well. I used this one for the pizza, substituting Daiya for the cheese, Earth Balance for the butter, vegan parmesan and Gutenfleischer’s pepperoni for the meat. And I added red pepper flakes to the tomatoes because pizza sauce should have some kick, damn it!

Now, don’t be afraid of yeast. If you’re having trouble with it, remember that it is temperature sensitive. Sadly, recipes like this one tell you to use lukewarm water, but many people don’t know exactly what that means. And it can affect your results. Here’s a handy chart of important temperatures related to yeast. Instant yeast wants to be mixed with 120°F water. It’s a good idea to check this with a thermometer since the yeast won’t act right if the water is too hot or too cold. But once you take care of that, the rest should work beautifully. Also remember that instant and active dry yeast are not interchangeable without some fiddling.

Another frustration when dealing with yeast is how much should it rise? Sometimes recipes give you an amount of time for the dough to rise and sometimes they tell you how much it should rise (double.) It’s best if they tell you both because the conditions in your kitchen are not going to be the same as the recipe writer. Maybe it’ll take 90 minutes for your dough to double. Then wait 90 minutes. If you don’t have a graduated container, mark double on the container you do have with a piece of tape and then you’ll know when it’s done rather than guessing.

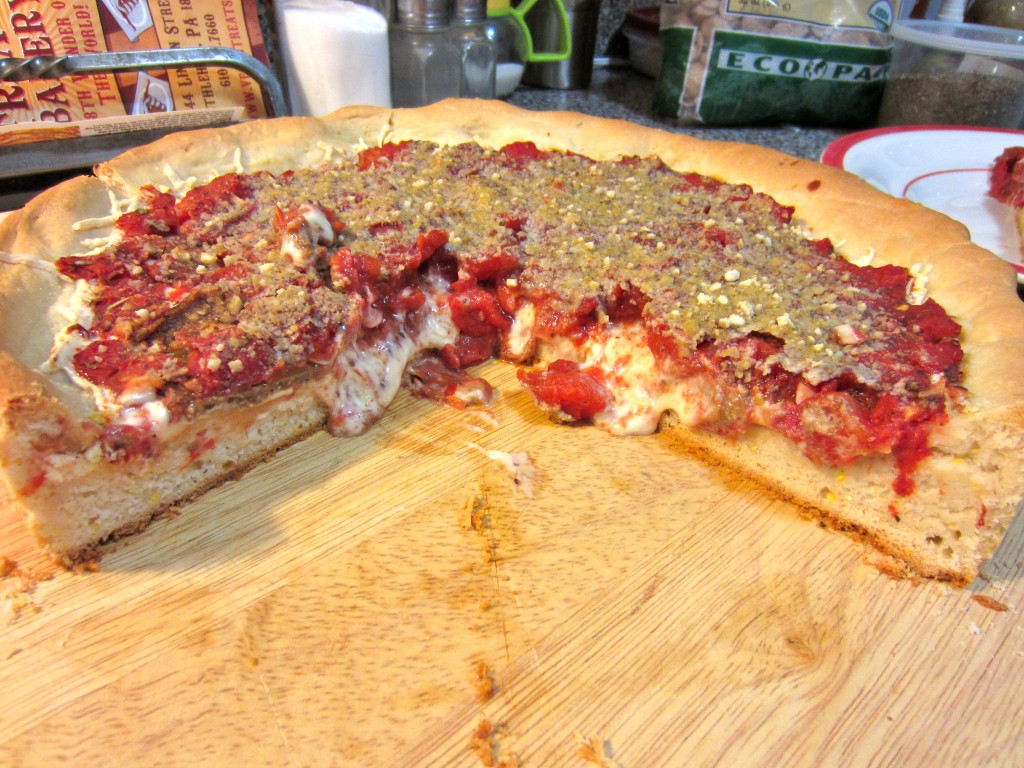
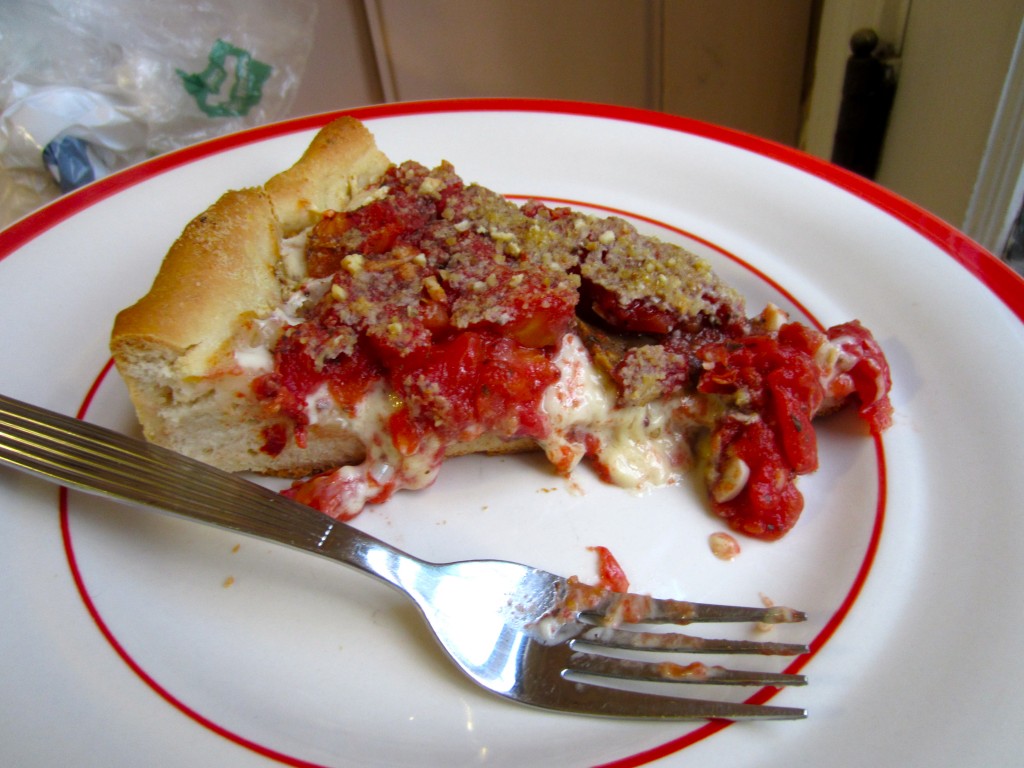
The crust came out really rich with all the fat in it. And it was nice and sturdy. You could even pick up a piece to eat it once you’d chopped off some of the point and gobbled it up.

Now, for some more pizza porn. I used a coarse corn meal and you can really see it in the crust:

It’s been a while since I’ve submitted something to YeastSpotting, so here goes it!
Making Bavarian Pretzels

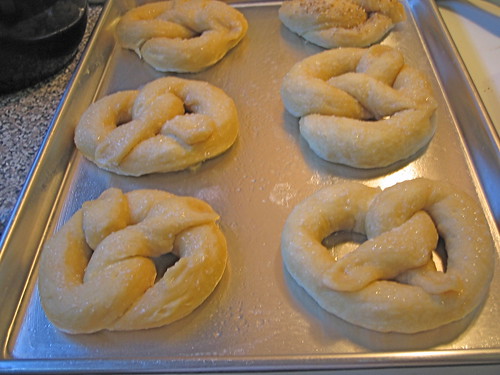
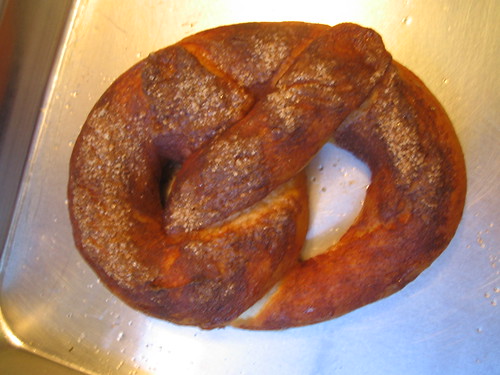
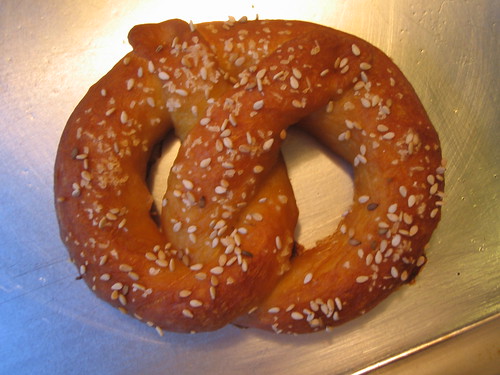
Making pretzels is a similar process to making bagels. Mix, ferment, shape, retard, boil, top, bake. I tried really hard to fuck these up. When I need to measure out water that’s a certain temperature range, I usually make the adjustments in the measuring cup, then pour out the excess once the temperature is right. This time, I got the temperature right, then just dumped the whole cup into the flour mixture. Crap. So I fiddled with it by adding more flour and a bit more yeast until the dough texture seemed about right. I was working with the Bavarian Pretzel recipe in Daniel Leader’s Local Breads. Unfortunately because I’m an idiot, this wasn’t a real test of the recipe. They came out pretty well despite this. The pretzels were best still warm from the oven. Oh yeah, I also burned the crap out of my arm on the baking sheet. Add that to the collection of scars.


pretzels taking a swim


pretzels ready to bake


cinnamon sugar pretzel


sesame seed and salt pretzel


pretzel party
pretzel party

Pita, pumpkin hummus and chard


When I saw this recipe while cruising VeganMoFo blogs, I knew I’d be making it soon. I mean, I had JUST cooked up a big batch of chickpeas. How could I not? Plus I’m apparently obsessed with pumpkin right now. I even bought one at the farmer’s market this weekend to bake up for myself. But for the hummus, I used the lazy canned kind. But I made up for that laziness by making my own pita.


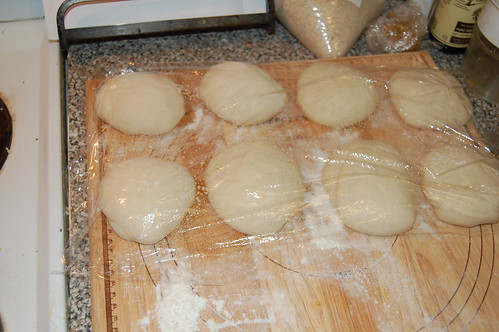
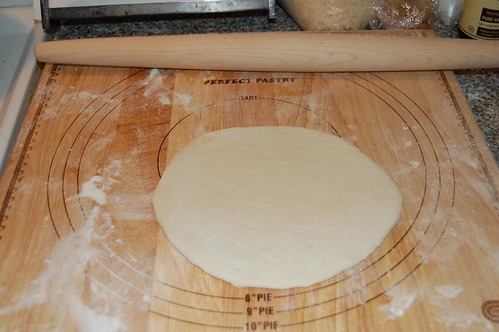
For the pita, I used the recipe in The Bread Bible. It’s pretty simple and the dough can rest in the fridge for up to three days. So it’s easy to make them on your timetable rather than letting the yeast rule you. 


resting pita dough
resting pita dough


all rolled out
all rolled out

 Oh yeah, I almost forgot the really fun part about the pita. I mixed up the dough Sunday evening. I was a little tired. When I was getting the water, I just filled a measuring cup with water, then checked the temperature to make sure it was okay. The next step would have been to poor off the excess and pour the amount the recipe called for into the bowl. But I just dumped the whole thing into the bowl. Crap! So I added a little more yeast and flour until it felt right. Apparently I am learning what “feels right” means because they came out just fine. All but one even puffed like it should. And that one half puffed.


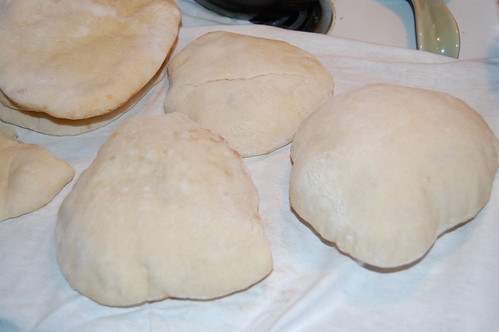
puffy fresh baked pita balls

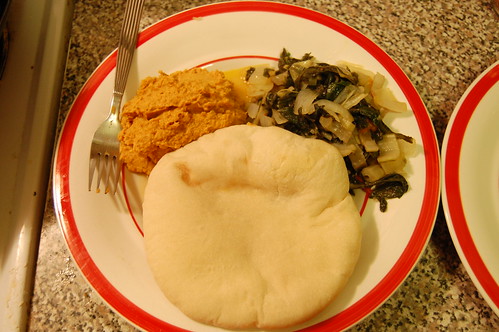
So, what about that hummus & chard? I gave you the link to the pumpkin hummus at the beginning. I don’t know if my garlic was super strong, but if you’re garlic shy, you should start with half the amount and see how you like it. I liked it just fine! It’s also a wee bit spicy. It mixes up really nice and smooth in the food processor. Sometimes hummus recipes don’t behave as well. The chard is Tunisian Braised Chard from Olive Trees and Honey. Flavorful and juicy. The pot liquor was so good that I’ve been drinking it after I finish the veggies. 


pumpkin hummus, tunisian braised chard, pita

This post brought to you by: Kevin’s old powerbook! Which is really cute and small and sort of makes me wish the new MacBooks had a little bitty version. Bad news: someone broke into my house and took my shit. Good news: I’ll get a new computer a little sooner than I was planning. Bad news: probably not replacing camera. 

Oh, and it might be too late, but I’m going to send this to Susan at Wild Yeast Blog for YeastSpotting. Even if it doesn’t make it, you should check out the YeastSpotting round-up every Friday. You’ll drool over all the bread yummies people have been making.

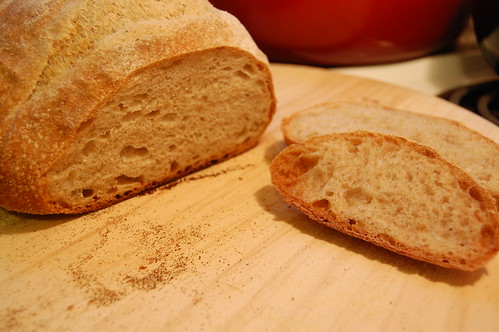
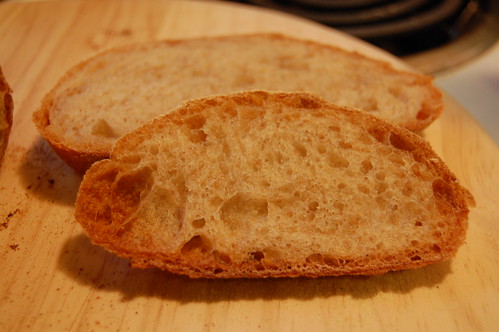
Rustic Bread

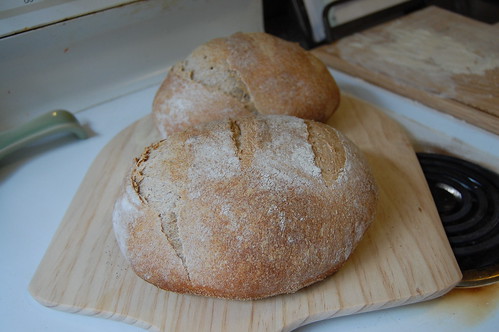
rustic bread from hamelman's bread

Saturday I made 6 loaves of bread. No really! And I was basically at it all day and into the night. But I really wanted to make the most of the day I had free so I packed in a lot of work. This one is the Rustic Bread from Jeffrey Hamelman’s Bread. It’s mostly a white bread with a bit of whole grain thrown in as well. I used both whole wheat and rye flours.

There are a number of challenges when baking artisan bread from home. The main one for me is my oven. I have an oven thermometer in there, but even so it’s about impossible to get it to stay at the temperature you want. The temperature likes to shoot sky high and then it’s really hard to get it to come back down. I’ve even found myself with the oven door standing open. And, I don’t know if this is true of other electric ovens, but the only time the top element comes on is if I’m broiling. So instead of getting an even amount of heat from the top & bottom, it gets all the heat from the bottom. So I have to watch like a hawk and keep adjusting the temperature to try and keep the bottom from burning before the top browns. See what I’m talking about?

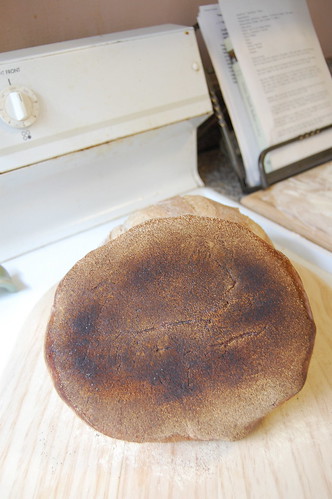
rustic bread bottom

A touch darker than I’d like, but the char flavor is minimal and it was worth it to get the top right. Another thing my oven doesn’t have is an automatic steamer for the first part of the baking process. The method I used last time to achieve this was to preheat a cast iron pan in the oven along with my baking stones. When I put the dough in to bake, I poured hot water into the pan and used a spray bottle to spray the sides of the oven. I repeated spraying the sides of the oven a couple of times in the first 10 minutes of baking. I didn’t get good lift on those loaves and ended up with a practically burnt bottom and pale top. So this time, I tried something else. When I put the loaves in, I misted the top of each with the spray bottle, and check 3 or 4 ice cubes into the bottom of the oven. Then that’s it. Way easier and I think it worked better.

rustic bread from hamelman's bread

I found these loaves took a lot less time to bake than the 35 or so minutes given in the recipe. Looking at the comments in The Fresh Loaf post I linked to above, maybe I didn’t leave the dough wet enough. But the loaves registered somewhere between 200 and 205 degrees, and the bottom couldn’t take any longer in there so out they came. All in all, I’m really happy with these.

rustic bread from hamelman's bread

Submitted to Wild Yeast Blog’s Yeastspotting feature.